
Knowledge Base - Installation on Local PC or Laptop
- Applies To: POS for Virtuemart, POS for Magento, POS for OSCommerce
The installation is easy, Just follow our 3 Steps guide below to install your Point of Sale on a local pc or Laptop.
In this example we will be using Xampp to host a local server.
You can download XAMPP from https://www.apachefriends.org/index.html .
XAMPP is available for MAC, Windows and Linux. Download the version that matches your OS. The installer version is very easy to use.
A installer will apear in your browser, after running it you will see the installer screen like this: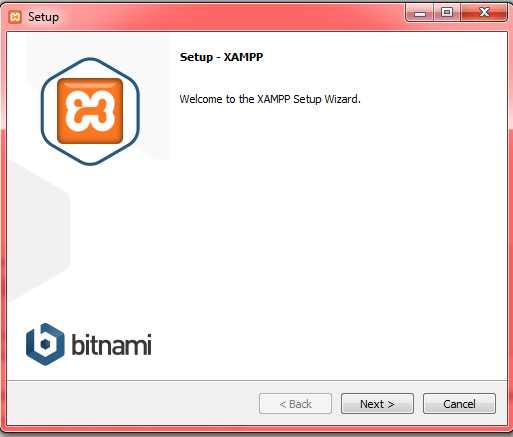
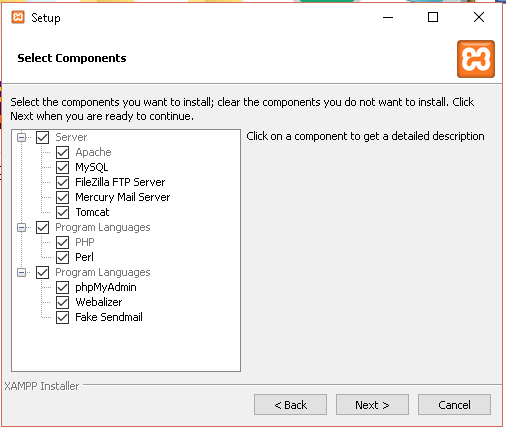
On the next screen you get to select which components you want installed.
I recommend you to leave everything checked in this screen and then press next.
When the installation is completed you will see a icon on the right of your windows bar.

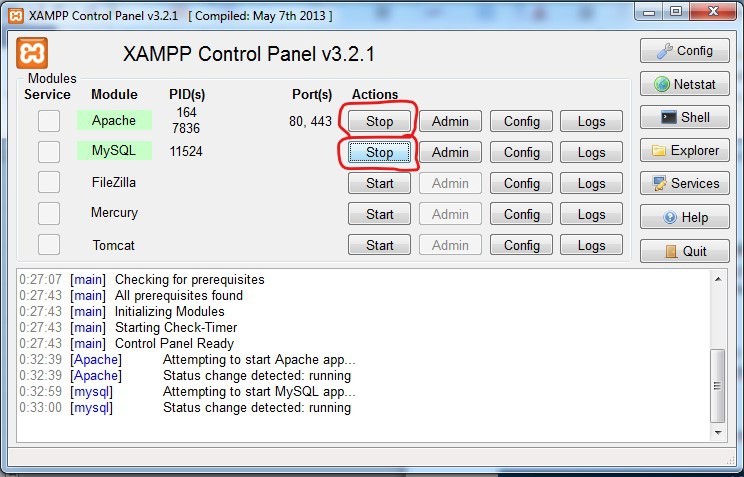
Clicking on this icon will open the Xampp control panel.
In this panel please click click on start on both of the Apache and MYsql services.
When you clicked on start the buttons should hange to "stop" and their names will display green.
Type in your local home page's address in your browser - which is localhost/
If it has not been successful - you will get a message saying 'Unable to Connect'. This may happen if:
The most likely cause is that Apache or mySQL are not running. Use the Control Panel to check these.
If it has been successful - there will be a splash page with a choice of languages.
Choose your language.
You now see a Welcome page which says 'You have successfully installed XAMPP on this system!'.
There are also various links to documentation and other things to the left.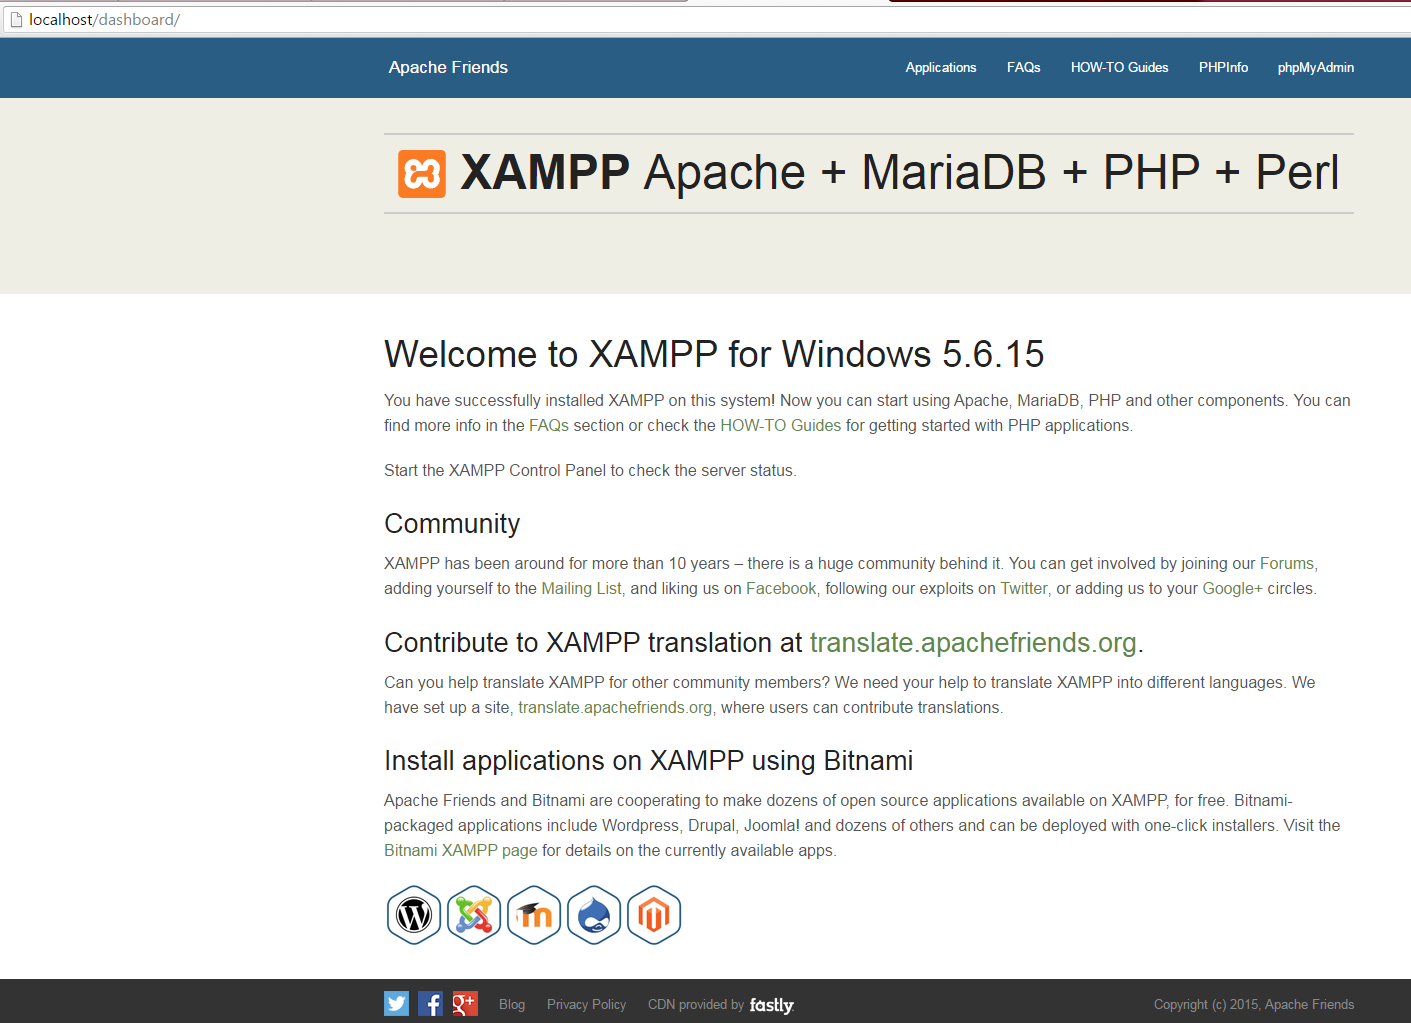
You are now ready to download and install Joomla.
Step 2
Downloading Joomla
You can download Joomla from https://www.joomla.org/download.html .We have tested the POSforWebshop component on Joomla 2.5 and 3.X.
Preparing the Xampp database
Please make sure you still have both the Apache and MySQL services running in Xampp.
We will use both services to set up the database and Joomla.
In order to run the POS on your local computer you need to set up a database in your local server.
To set up and configure this new database go to the phpmyadmin in Xampp, localhost/phpmyadmin
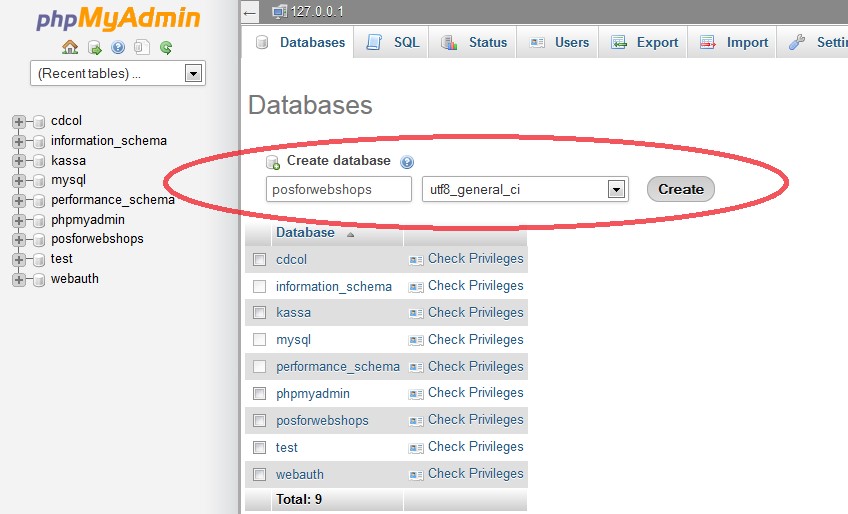
Here you will encounter a screen like the one below. click on databases to make a new database.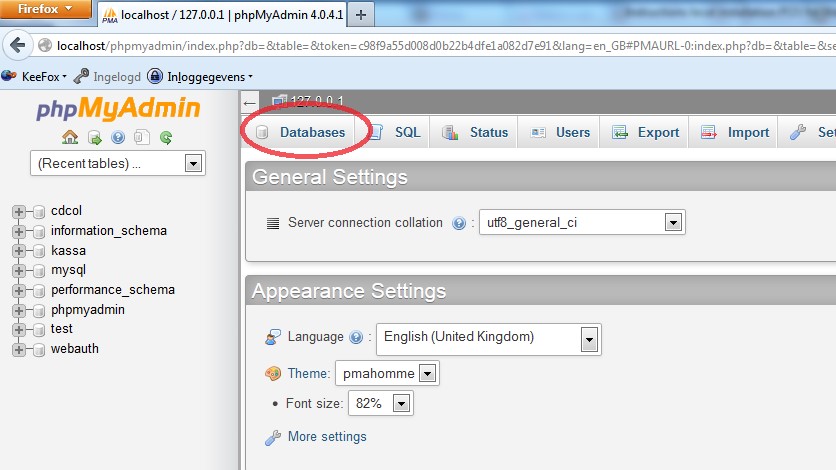
Fill in a name for your database, i have called mine posforwebshops as an example. i recommend naming your database after your site or something related, so that it's labeled correctly.
Preparing Joomla installation:
Now we are ready to install Joomla, You can download Joomla from www.joomla.org/download.html
Choose Joomla version 2.5.x or 3.X and download it.
Navigate and find the htdocs folder inside Xampp (in my case the path is C:/xampp/htdocs/ ) and create a new folder in htdocs. I created the folder “posforwebshops” in this example.
In this new folder you can extract the Joomla zip file.
Installing Joomla
Go in your web browser to localhost/posforwebshops/ . You will see this screen: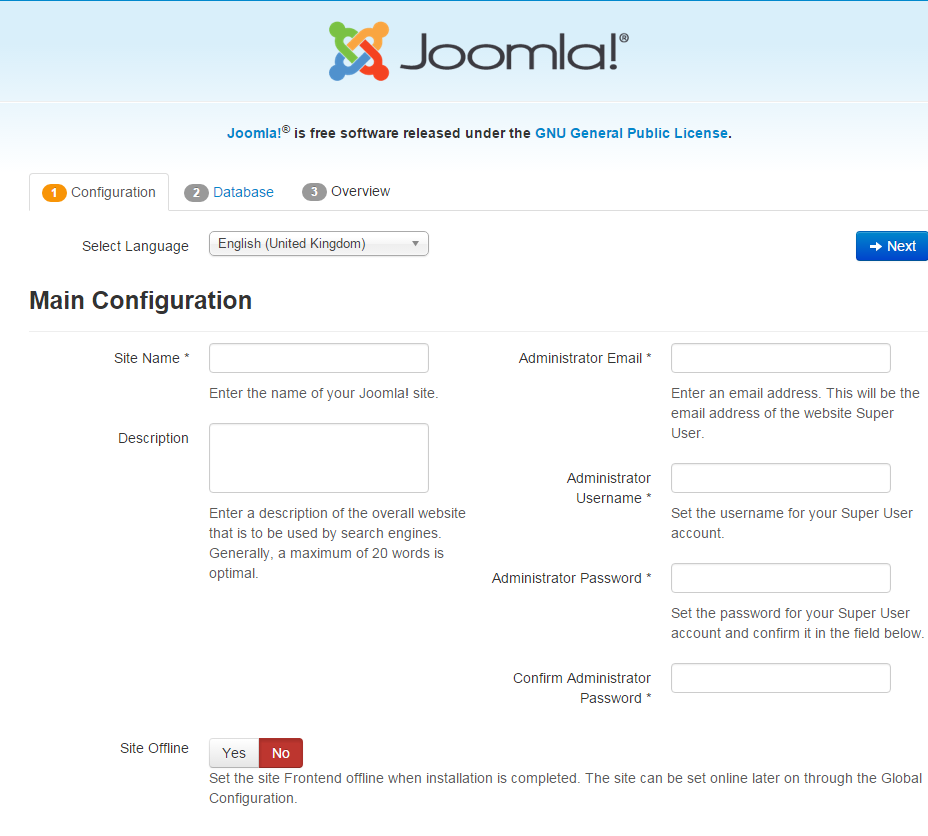
Choose your language, sitename, e-mail of the administrator, username and password, description is optional.
After this is done click on 'Next', on the following screen we fill in the database settings: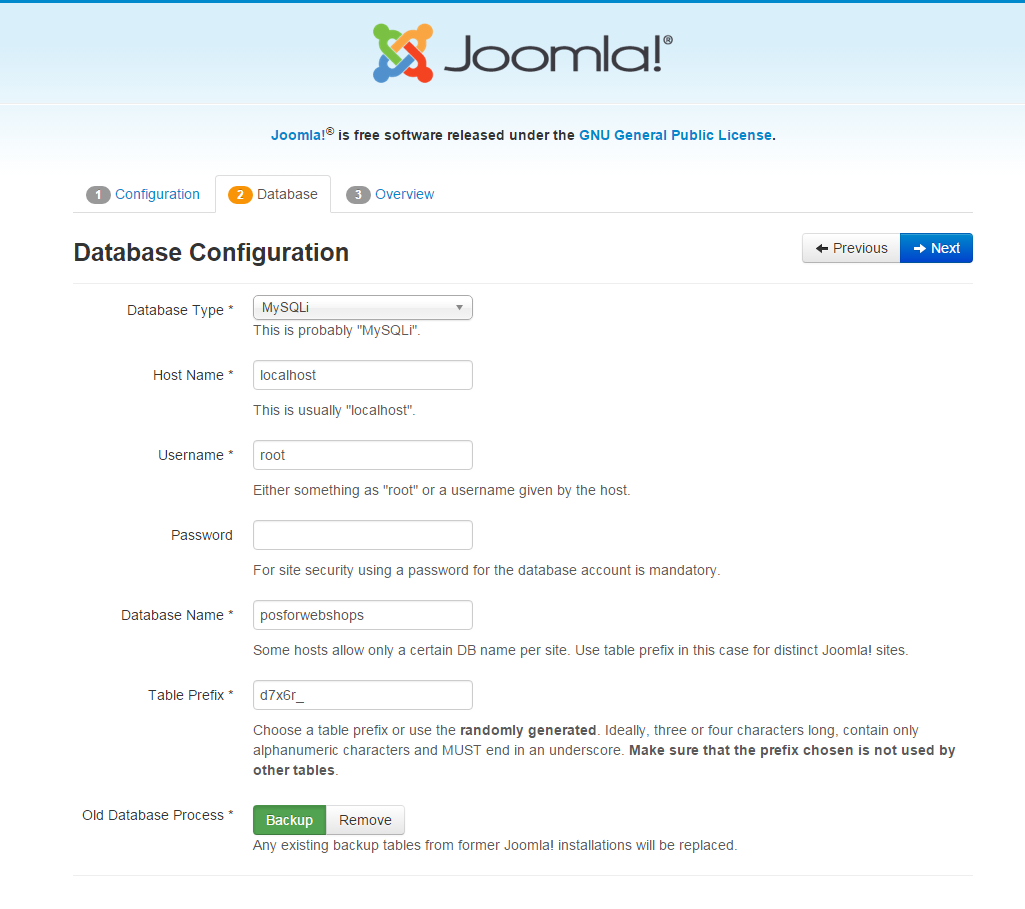
Database type: MySQLi (most common)
name host: localhost
Username: root
Password: (leave empty)
Database name: posforwebshops (see “preparing the xampp database” in this document)
Prefix: (is random)
And click on “Next”. Then you will see the Finalisation, we don’t need them so click “Install”.
After this Joomla will be succesfully installed, click on the 'Remove installation folder' button.
Then you can click on the 'Administartor button to got to the administrator area.
Fill in the username and password that is just created in Main configuration during the Joomla installation.
Now we can install the POSforWebshops component.
Step 3
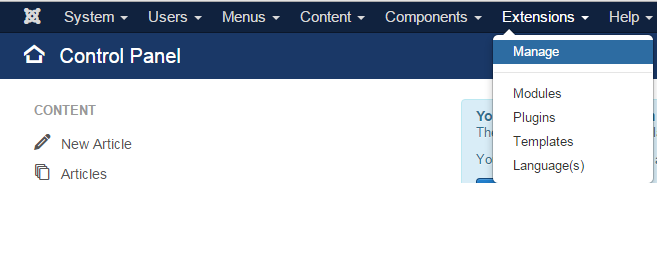
When logged in to the administrator section, go to Extensions->Manage
Click on “upload a package” and go to the folder where the POSforWebshops component is downloaded and click on “upload & install.
After the component is installed go to Menus -> Main menu -> add new menu item.
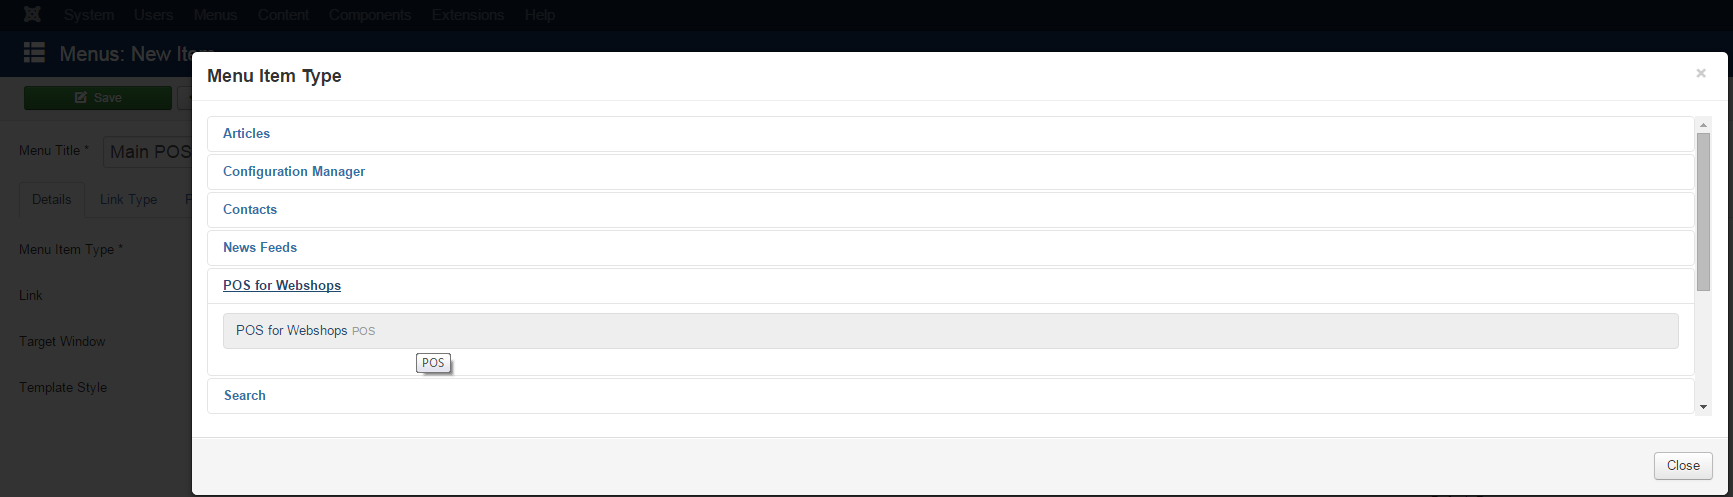
This will bring you to the Menus: New item screen, name your site and click on the blue 'Select' button.
Click on 'POS for Webshops' and then on 'POS for Webshops POS'.
After this click on 'Yes' under the Default Page on the right (marked by 1).
Then click on 'Save & Close' button on the top left (marked by 2)
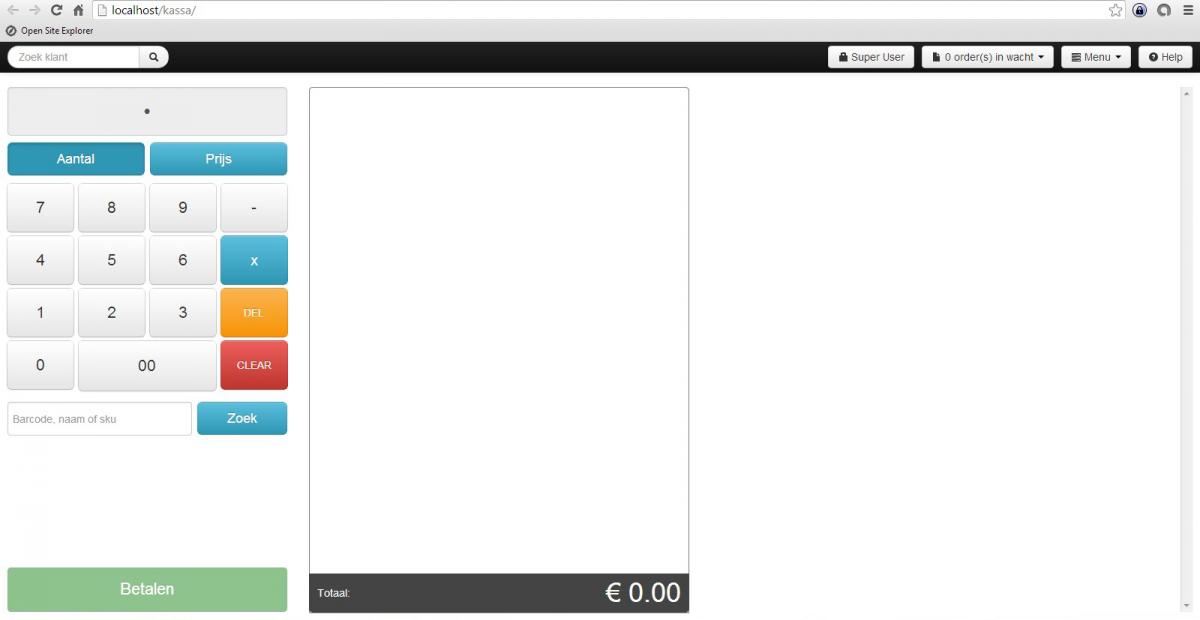
Now the webshop will be the default page of your site, go to localhost/posforwebshops/ to visit your webshop.

Fill in your username and password:
Now POS for Webshops is ready to connect with your webshop.
On the next screen you get to select whatcomponents you want installed.
you should leave everything checked here and then press next.
Login Form
Stop the hassle of running a online and offline business
If you have a webshop and a brick-and-mortar store, how do you keep track of your stock? Do you still need to add new products by hand in your cash register? We know how frustrating and difficult it can be to manage both your webshop and physical store. POS for Webshops is built to improve your business online and offline.